Late into the evening I got just under 2 more hours of play and completed the game. Just before Turn 30! As ever, the pictures and captions tell the tale. Will King George and his Austrian principals* make it through the encircling French? Find out below!
* Technically the British were auxiliaries of the Austrians in their defence of the Empire, against the Bavarian usurpers and their French auxiliaries.
 |
| On turn 13 the allies have almost blasted a way through the French infantry. I'd forgotten to give the British their superior musketry advantage in previous rounds, but boy did they let rip after I remembered. Fresh British dragoons (as ever with the 2nd Royal North British/Scots Greys) have charged into the Maison (already 1 hit out of 3 down). |
 |
| Remarkably the Maison break taking Grammont's wing down to half strength, whereupon they fail the wing morale test. Grammont has gone, in only two more turns! |
 |
George and Arenberg, oh so slowly, get their forces across the streams. Some units failed their tests to cross the streams, and the cautious allies don't want to go forward with disorganised masses. French reinforcements are coming in the distance. Half of them have already crossed the bridges downstream of Dettingen.
In TOTSK there are no movement penalties for crossing streams, but you can get held up of you fail the action test to cross. |
 |
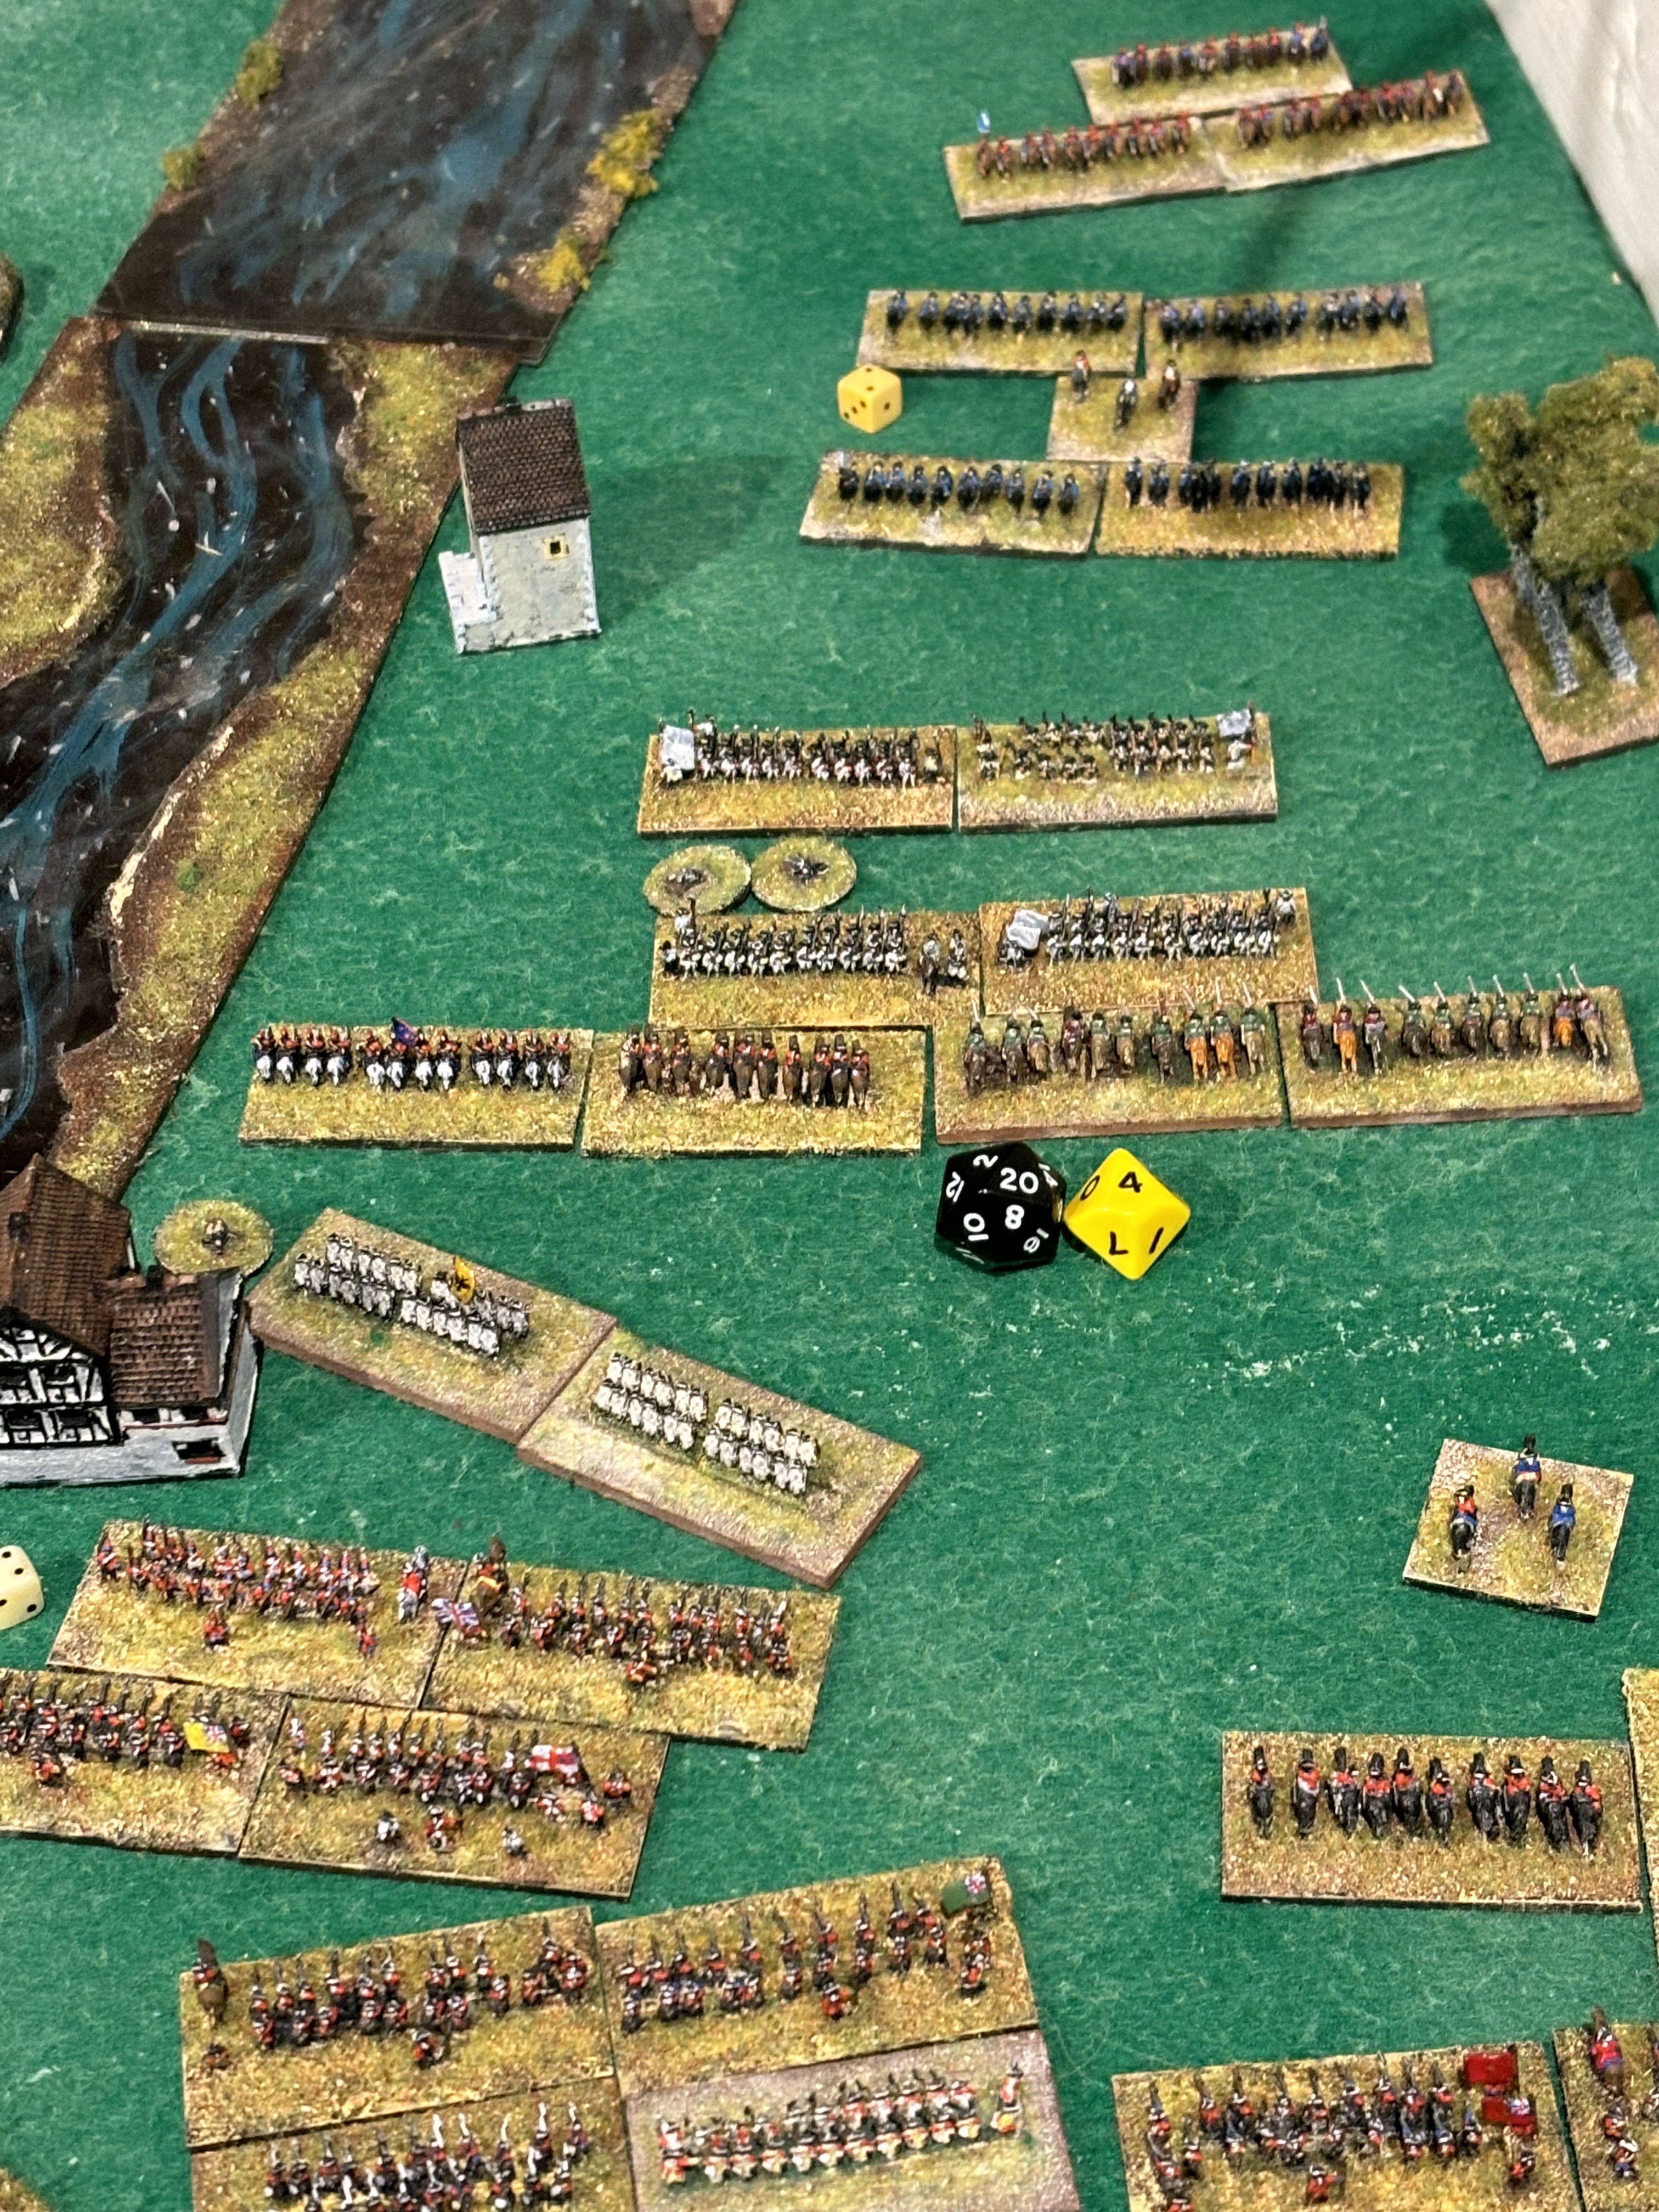
| By turn 19 the combatants have entered a confused brawl. Charge is followed by counter-charge. An Austrian brigade has appeared out of Dettingen on the flank of a French unit of horse and has inflicted a hit on them by shooting. |
 |
| Same turn but with the focus pulled out to take in the whole wing. The French are easily outnumbered. They only have half of the reinforcements on this side of the river at this point (4 out of 7 brigades, with only one cavalry unit). The other 3 (2 horse and 1 large dragoon brigade) are held up at the bridges in a traffic jam with fleeing troops from Grammont's wing and various baggage wagons belonging to the French senior officers. [This was the rationale I gave for the 3 turns in which the French columns failed action tests to change direction and cross the bridges]. |
 |
| The gap where the French horse were! The British brigade of dragoons that had routed the Maison du Roi, also finished off the brigade of line cavalry! |
 |
| A few turns later the allies are still battering away at the French reinforcements. There is very little room to manoeuvre in the narrow gap between the river and the woods. But the French have lost a brigade of infantry - also finished off by the same British dragoon brigade! In true British cavalry style they have gone charging in to the next unit. A couple of turns previously the French wing commander was lost (with the cavalry brigade) and his replacement came on a turn later. |
 |
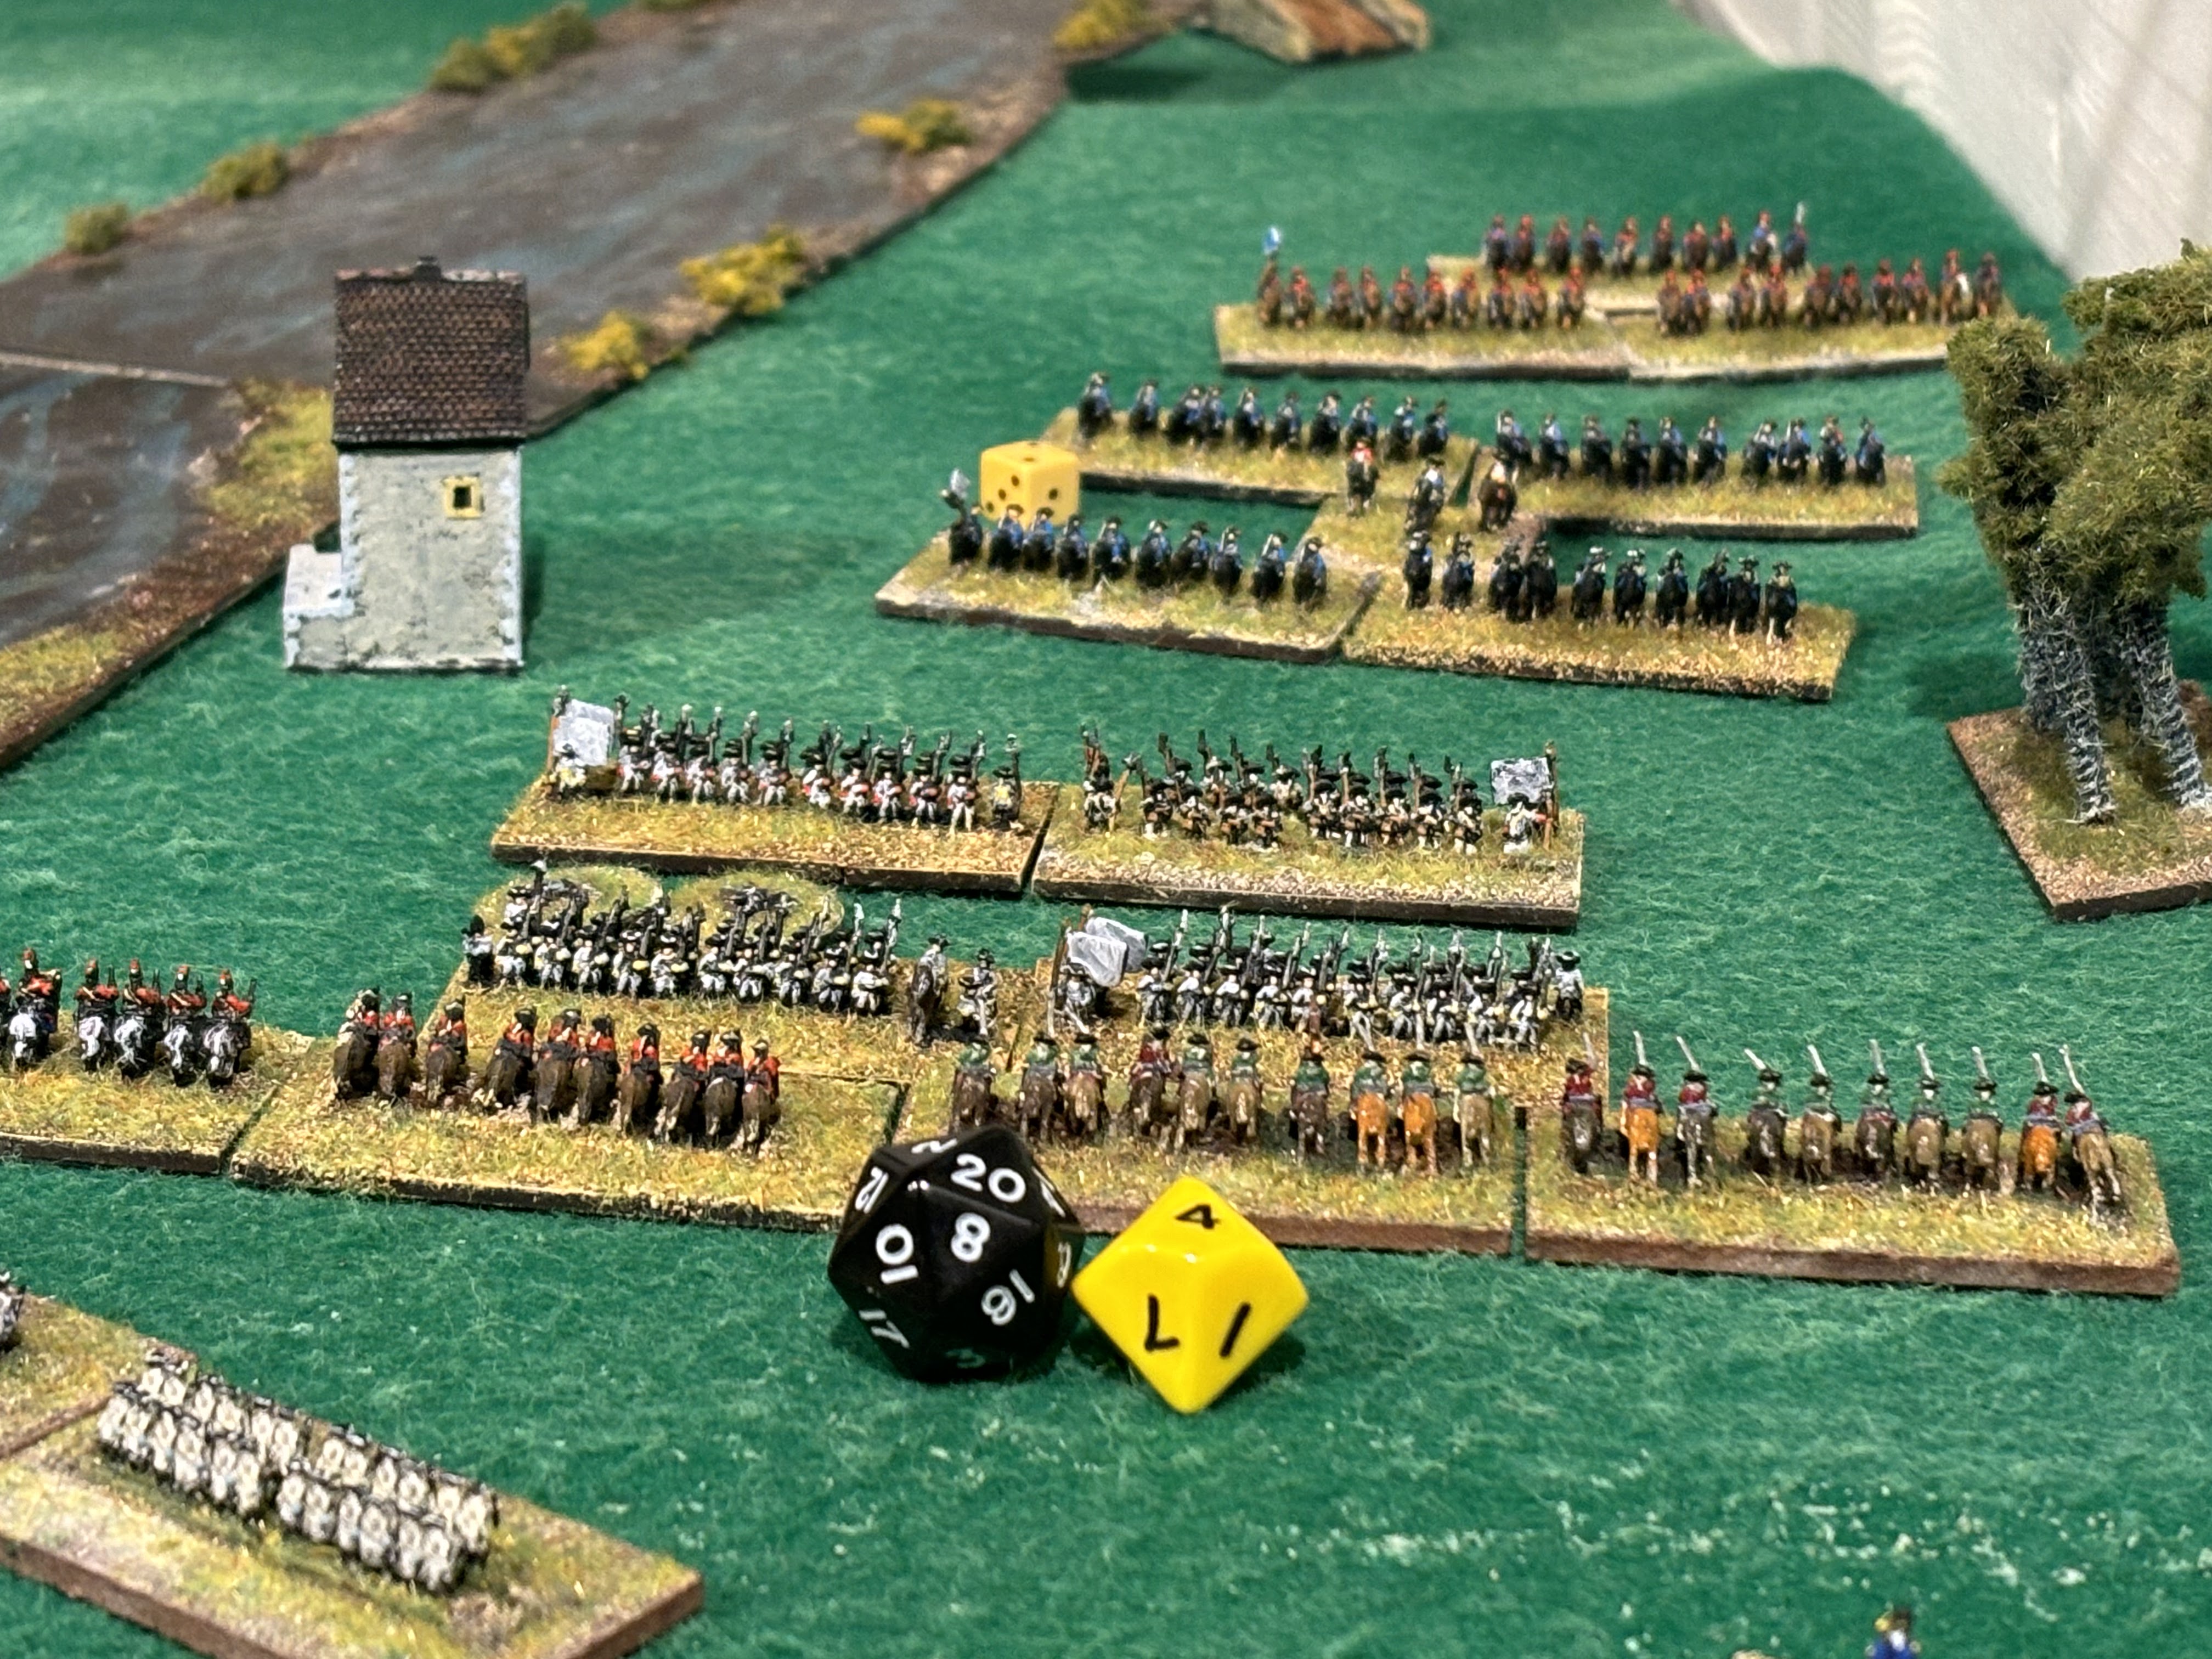
| Again, the camera pulls back to reveal the wider picture |
 |
| Same turn but a close up. |
 |
Soon after and the British dragoons are about to be charged by the late arriving French cavalry. Have they met their match?
King George can only lose two more units before a wing morale test is necessary (as can his opponent). |
 |
| The answer is.....yes! The British dragoons have finally met their match. But the Foot Guards Brigade (6 battalions of British and Hanoverians) revenge their mounted brethren and push the French cavalry back to their rear. George can only afford one more loss, but so can his opponent. That massive column of Anglo-Hanoverian-Austrian infantry on the left is facing a lone French brigade supported by dragoons. [Turn 29] |
 |
That French foot unit routs and the rest of the wing follows (the French rolled a 1). 2 formations out of 3 down, the French are defeated.
Huzzah! The road to Frankfurt is open! |
Well that was a case of quick, slow, slow! Never mind quick, quick, slow. Grammont disappeared quite quickly after the re-start, but it took a long time to finish off the reinforcements, due to the cramped terrain. There was some fairly inconclusive action at the far end of the table. This didn't really affect the outcome, but Cumberland held up the other French wing.
The butcher's bill was wildly unbalanced. The allies only lost 2 brigades to 9 French (not including the balance of the wings that routed). About 4 more allied brigades were on the brink of routing, but these were from 3 separate commands. With a swing of luck, like avoiding the hold up at the bridges, the French might have finished off the King's wing, before losing their second.
The tweaks I made to the scenario worked well. They definitely gave the allies more of a chance. Something a bit more like the historical outcome.
***************
A little birdie tells me that the troop augmentation I'd ordered a few days ago will be with me in a few days. 16 packs to come from Heroics & Ros. Great service!


I have enjoyed your multi-part replay of Dettingen, Chris. This is a battle I would enjoy presenting one day too although I don't think I can get it all in when fielding 15mm armies. This is especially true if I want it playable remotely.
ReplyDeleteThose British dragoons were definitely MVPs of this battle.
Good stuff and thank you!
Cheers Jon. I think you could fit it in if you had a brigade as a BMU, and just did the sector where the fighting took place historically, dicing for reinforcements. Or did it slightly bathtubbed.
DeleteThose dragoons certainly earned their sovereign’s gratitude.
Chris
Huzzah, indeed - for a famous British victory (with the help of a few coffee chugging Austrians!) The Empire Strikes Back :)
ReplyDeleteIndeed sir! When news reaches London, they’ll be singing that ditty composed by Mr Thomas Arne in the theatres.
Delete“When Britain first at Heav’ns Command
Arose from out the Azure Main” 🎶
Chris
Great game there Chris and good to see an Allied win, with quite a disparity in terms of units broken, but as you say, it could have been a different outcome given how many brigades were close to breaking.
ReplyDeleteThanks Steve. Yes, it’s best not to think of lost units as a proxy for killed and wounded. Especially as there are no removals of parts of units. They’re there until they’re gone, so the end of the game is just a snapshot.
DeleteChris