Well the ambitious playtest of Bellona et Fortuna was undertaken on Saturday in the dining room of Schloß Nundanket. It was a good place to be on a day when the temperature outside was around 30 degrees Celsius as the dining room is on the colder, north facing side of the house.
Jeff Berry's Obscure Battles tells us that on the day the battle itself (18 June 1757) the weather was clear and hot.
This is the first of a two-part piece on the playtest to make it more manageable for me (finding thinking and writing time is easier breaking it into bite-size chunks), and more manageable for my reader to digest. This first part is a straightforward account in summary of what happened. The second will be more analytical and go into what I learned.
I used the expedient of identifying the generals' Initiative Ratings by the number of figures on the command bases. 3 figures = an IR of 3; 2 figures = IR of 2 etc. All were either 2 or 3 and were spread evenly along both lines, with no particular rationale. The '3er' in command of the Prussian left wing cavalry (technically the advanced guard in reality) represented old Hans Joachim von Ziethen even though in the actual battle his lack of activity might not merit this. But I actually had painted up my diddy 1/300th scale figure as the man himself complete with eagle wing on his hat, so it would have been a shame not to. For balance his opponent on the Austrian side (Nadasty) was also a 3er.
I did start out with the intention of recording a blow-by-blow account of each turn for later analysis, but that idea quickly ran out of steam. Partly because it was, well work, and partly because I got too engaged in the game. The first turn I made into a double move turn - I decided the Austrians didn't want to do anything, apart from stockpiling 'ADCs' for later use. This brought the Prussians into contact with the Austrians all along the ridgeline quite quickly.
 |
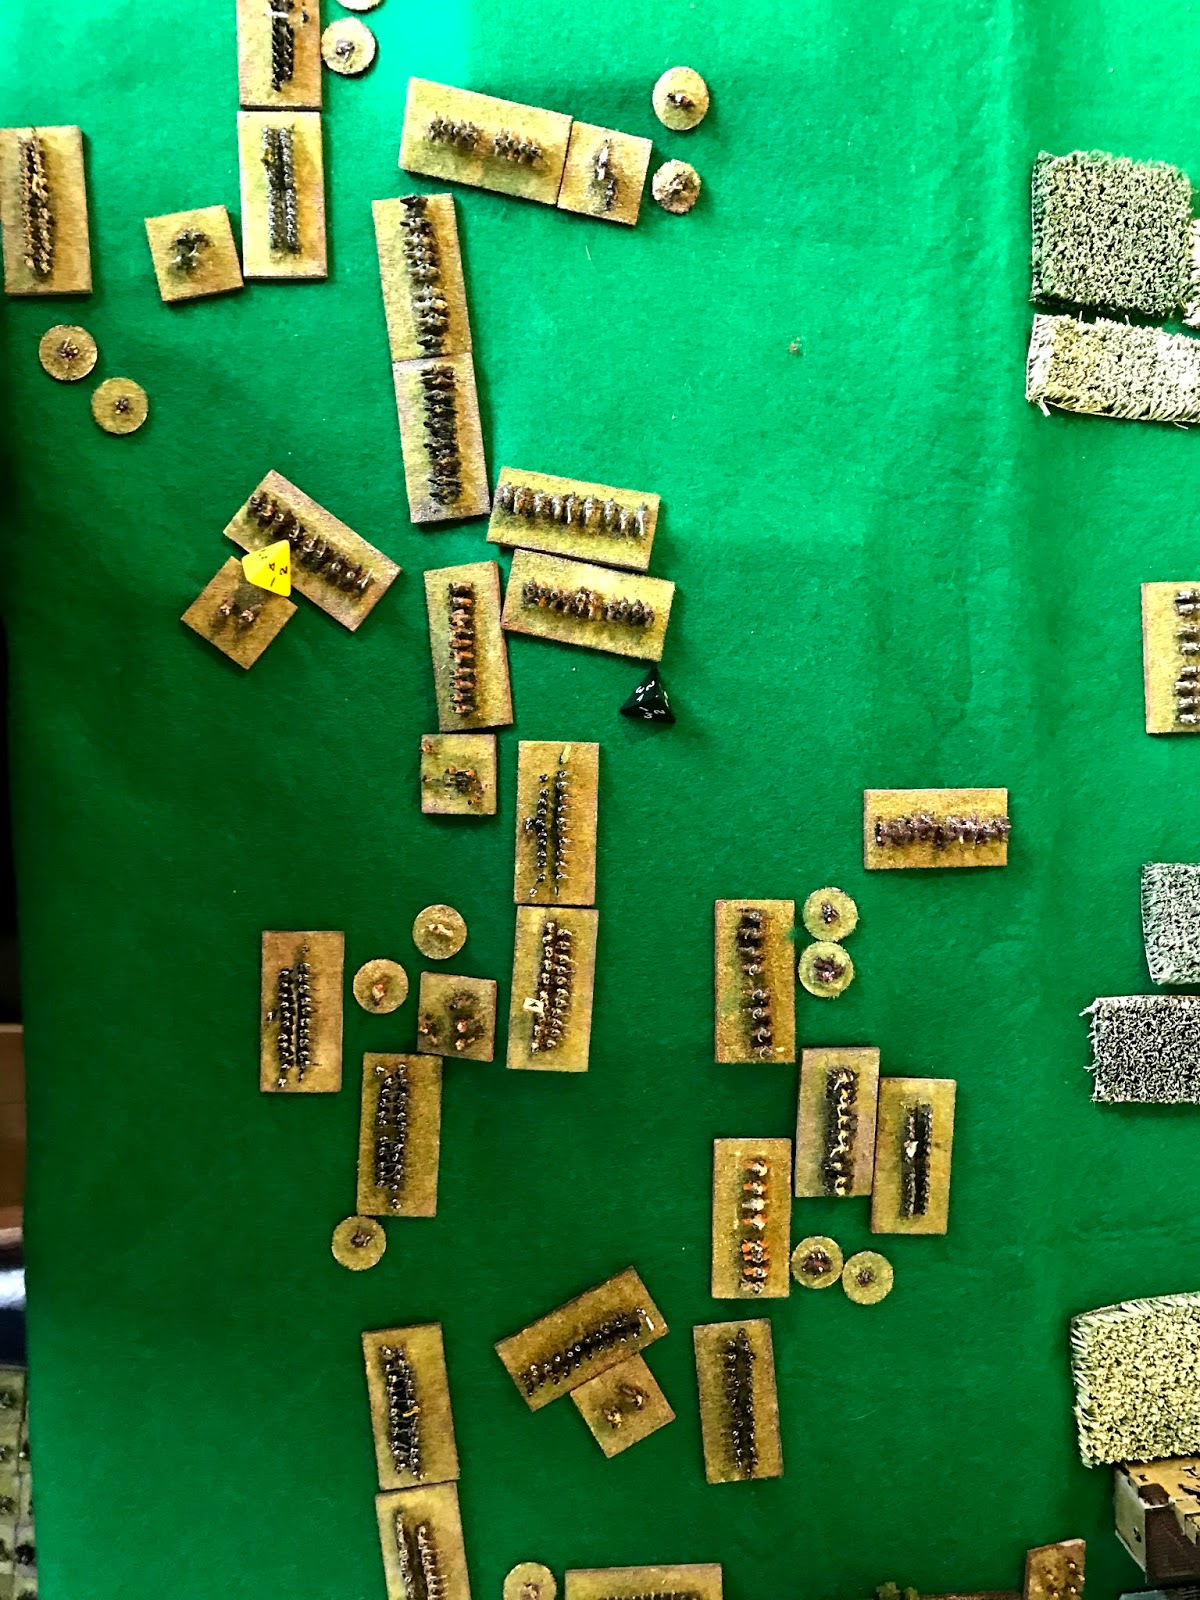
| Initial clash all along the line |
No fancy tactics, just straight into them. Actually, not very different from reality when most of the divisions waded into action too soon, rather than en echelon as Frederick intended. Daun sent some cavalry (Saxon Chevaux Legers) off to back up Nadasty's hussars on their right. Two regiments (bases) of Prussian infantry have turned to mask the skirmishers in the wood.
 |
| Same stage but an eagle's view |
On the Austrian left-centre Austrian cuirassiers charge into Prussian musketeers (who stood up manfully) while Prussian cuirassiers crash through Austrian dragoons. The action got quite confused here as pass-throughs occurred and some units attacked nearby enemy units whilst others turned to face their first opponent. It became a swirling cavalry action with units facing all sorts of different directions, and I really had to concentrate on making sure I followed the process step-by-step in order not to lose the thread.

Over on the far left it's honours even after the first clash of the hussars. Two bases of Austrians, opposite the chaps at the top of the pic below, have been pushed a long way back out of shot. The two units of Prussians have pulled up after their opponents skidadled. One unit of Prussians have passed-through the Austrians in the centre of the pic (the ones marked with a casualty figure) and have turned to attack the nearest enemy unit (in the flank). Finally two bases of Prussians (painted as the von Reusch 'Death's Head' regiment, who weren't at Kolin in reality) have been thrown back.
 |
| After the first clash of hussars |
Meanwhile, in the centre the picture is more confused (see pic below). Over by the wood the Prussians have seen off the first couple of regiments of Austrians - one heading into the wood and one going behind it. Four bases of Austrian cavalry are turned to the east (i.e. towards the top of the pic) ready to plug the gap. Just slightly further 'west' (i.e. towards the photographer) the Prussian cavalry by contrast has failed against the Austrian infantry and artillery on Krezcor Hill, and been pushed back in disorder (note the dice which I'm using as inelegant Unsteadiness markers). Slightly further west again, Prussian dragoons (in light blue) have turned to attack the Austrian battery in the flank supported by a regiment of infantry. Coming still further west the Austrians on Pzerovsky Hill are looking strong with plenty in reserve.
 |
| Mixed tidings in the centre |
 |
| Closer up view of the action on Krezcor Hill. The dice spots show the Unseteadiness points accrued. There's a unit of Austrian cavalry with two Loss markers. |
One of the problems for the Austrians as the action unfolded was that some units in the second lines incurred Unsteadiness points as units in the front line routed and burst through them. This impacted on their ability to tackle the Prussians. This happened quite a lot. Maybe the rules need to be tweaked to reduce the risk of disorder occuring this way?
After a few more turns things really begin to change. For a start you can see I'm having to use more and dice as Unsteadiness markers (all sorts of shapes are pressed into service). The Austrian left flank has been smashed and the only saving grace is that the Prussians on this flank are disorganised and disordered - it's going to take a lot of effort to pull them into some kind of useful shape to exploit the situation. Good, just as I intended the rules to play! Up on Pzerovsky Hill the Prussians contact the Austrian second line.
 |
| The Austrian left flank is shattered while the Prussians crest Pzerovsky Hill further off |
By this stage the Austrian losses in terms of bases routed off the board, or in some cases reached the 3 Loss marker stage for automatic removal, had really eaten into their initial advantage. The Prussians had lost maybe 1/4 the number of bases, although several were severely disordered. One notable unit routed was the famous Lieb Garde - probably because, as the Jolly Broom Man spotted, they were not in their yellow breaches so they didn't feel they were cutting the mustard as a Crack regiment. [Rule Amendment #64: minus 1 for Guard in wrong colour breaches]
 |
| Close up of the Prussians hitting the Austrian 2nd line on Pzerovsky Hill |
Over on the right the two opposing hussar forces are lining up again after sorting themselves out. The gaps in the Austrians' lines have been plugged by the Saxon Chevaux Legers.
 |
| In the east, the light cavalry are ready to reconnect, resulting in.... |
 |
| ....Ziethen's force being scattered! |
This was the one bright spot for the Austrians as the end game came into sight. The Austrians have all but lost Krezcor Hill, with not much left to retake it with and.......
...the second line have been pushed off Pzerovsky Hill. The Prussian infantry have been badly knocked about too.
 |
| End game: Pzerovsky Hill captured! |
 |
| On the western flank the end is nigh. |
Out on the western flank, the re-organised Prussians are ready to sweep the remaining Austrians away.
So it looks like the Prussians have removed the threat to their continued siege of Prague. The Austrians still have a decent amount of cavalry to mount a rearguard action and the Prussians look in no shape to pursue anyway.
I had an enjoyable time, especially as updates came through from Blundell Park 😁. I identified several small tweaks that I'd like to make - the one noted above could have led to things playing out differently in the centre: in fact it could have turned out more like the real battle in the centre. It took 12 turns, and 5 hours of real time to conclude. Partly this was down to needing to think about things too much (more familiarity needed, but also more 'tightening' of the rules required - the two are probably connected). The pages of the rules that were referred to the most (and scribbled on the most) were the five Combat pages. Looking back now I forgot to use the Combat Outcome section which deals with the impact of unit actions on higher level formations - maybe that isn't needed! It's certainly difficult to remember which units are in which formations, because once the action unfolds, bases end up all over the place. Another thing that might help finish the game is to have explicit victory conditions. But overall I'm still pleased with the way the rules play.


No comments:
Post a Comment